自动生成 Keil MDK 工程
更新时间:2019-02-01 17:39:53
准备工作
安装Keil。
添加keil的toolchain的路径到windows的环境变量Path中。
keil toolchain路径默认为
C:\Keil_v5\ARM\ARMCC\bin。如何添加环境变量请参考How to add a folder toPathenvironment variable。
生成keil工程
本示例介绍如何生成helloworld@developerkit的keil工程。
- 编译生成keil工程:
aos make helloworld@developerkit IDE=keil
- 生成的keil工程目录在
projects/autogen/helloworld@developerkit/keil_project/中,具体文件内容如下:
$ tree helloworld\@developerkit/
helloworld@developerkit/
└── keil_project
    ├── helloworld@developerkit.uvoptx
    ├── helloworld@developerkit.uvprojx
    └── opts
        ├── armv7m.ar_opts
        ├── (more...)
        └── yloop.c_opts
使用Keil IDE编译工程
进入projects\autogen\helloworld@developerkit\keil_project目录,打开生成的helloworld@developerkit的keil工程。
- 工程设置
在打开工程以后选Project->Options for Target 'helloworld@developerkit'。打开工程设置:
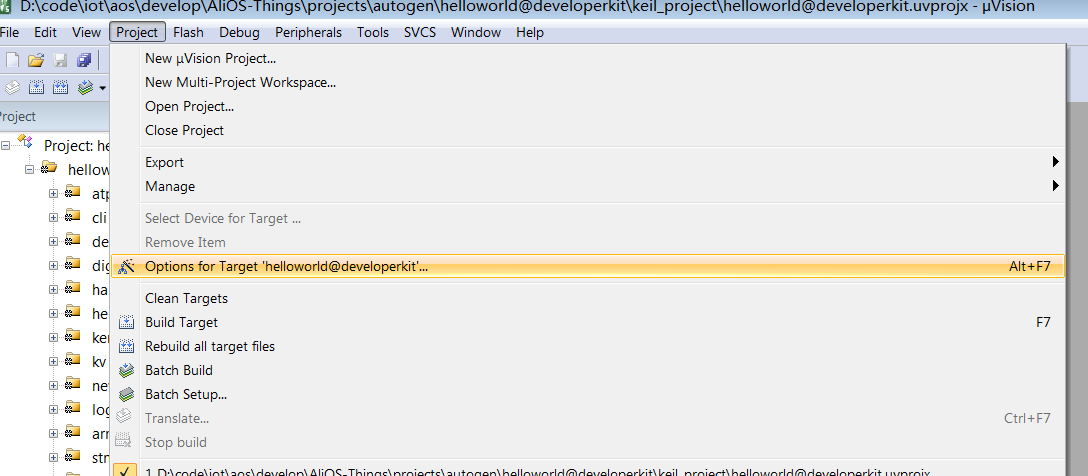
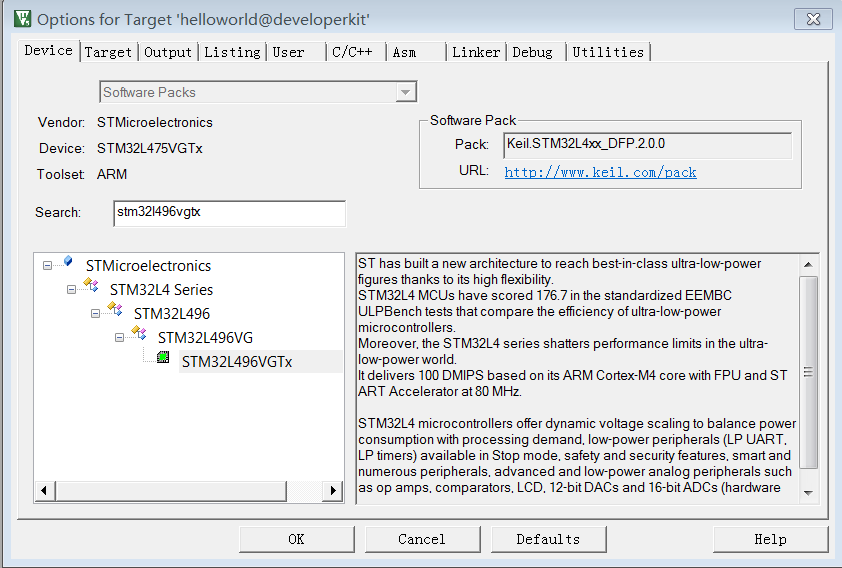
选择对应的device:
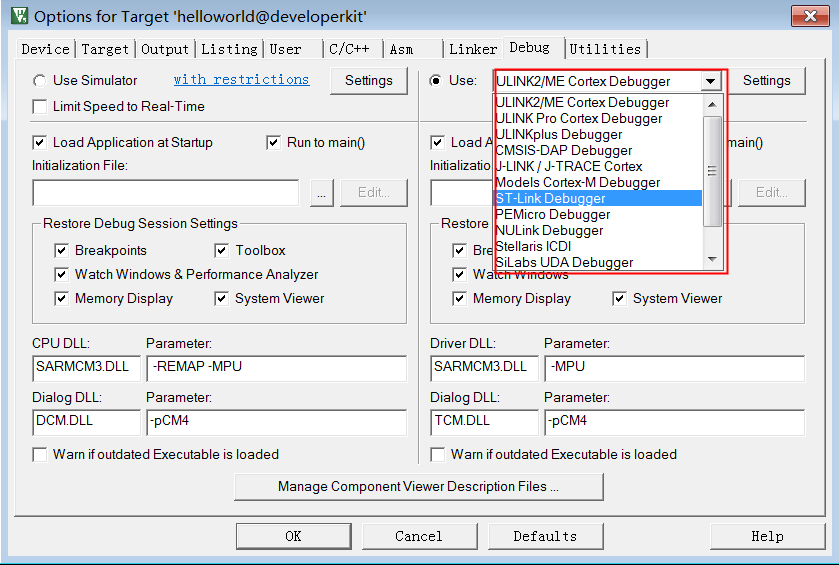
- 调试设置
烧写前先在Debug选项里配置工具。先进入设置,选择Debug选项,根据芯片的不同选择相应的debug工具,比如developerkit开发板就要选择ST-Link Debugger,否则会出现烧写失败的问题。
至此就可以用keil来编译,烧写代码,调试了。